The Pursuit of Graphic Design Perfection
First seen on Marketing Tribune In the modern-tech day and age of today, we have evolved new ways to bring our designs to life through our technological advancements. Design comes in all forms; the computer you are looking at now, the posters and adverts you see on the shop floor, the phone you use – […]

First seen on Marketing Tribune
In the modern-tech day and age of today, we have evolved new ways to bring our designs to life through our technological advancements. Design comes in all forms; the computer you are looking at now, the posters and adverts you see on the shop floor, the phone you use – even the human DNA has been designed to create who we are today; what makes a design great is the iterative process. And this can apply to anything, as the longer we focus on a task, the better we get at it.
But when does this process end and when is it good enough? From every design goal we have reached, we need to question whether we can improve upon that. When you think you’ve finished your project, ask yourself if you can make any more adjustments to the font size, or if your colour palette is right for the piece. Let’s have a look at some of the ways we can hit that peak!
Lay them out like a jigsaw puzzle
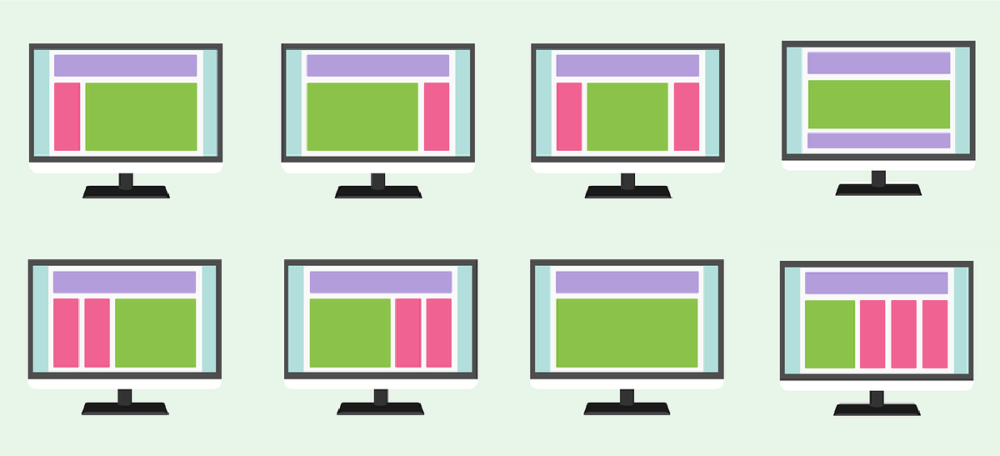
First and foremost, the layout of the graphic can affect the way someone reads or views it. As human beings, we tend to get bored after some repetitiveness in terms of visual aesthetics. So to counteract that, we need to add some variation to the piece, which can be done in a number of ways. However, in order to keep someone’s attention, we need to spruce it up a bit.
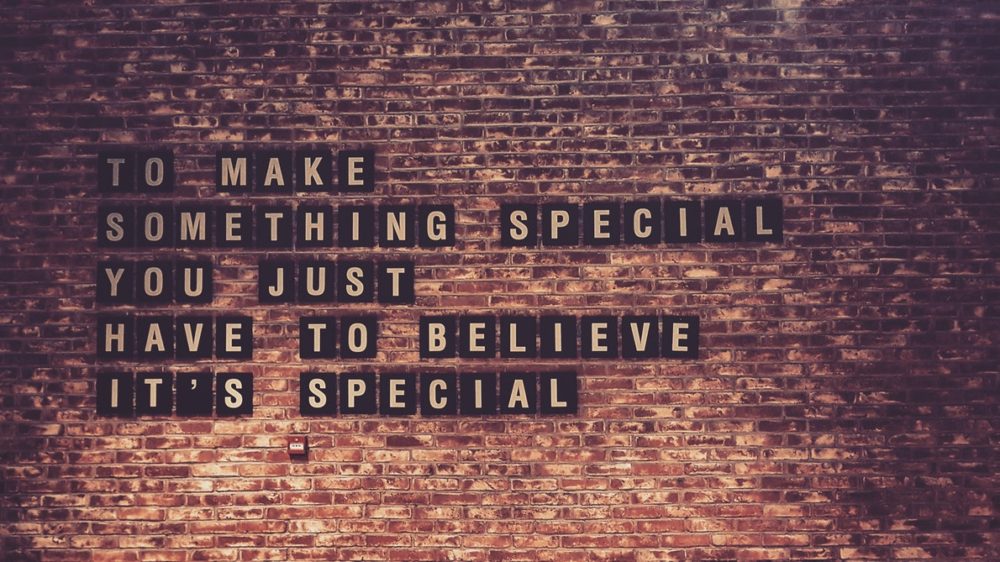
If you are dealing with just text, playing around with font size can definitely improve the piece, as you can emphasise the important words and prioritise them in chronological order in such a way it makes the reader feel more engaged with the piece.
On the other hand, if you have an image/icons next to some text, you have more to play with. Pretend they are a couple. How does the text complement its image/icon? Present it in a way where the image makes sense to the text it sits next with. If it doesn’t make sense for it to be there, try adding something else or remove it entirely.

If you’re laying out an image by itself, think about the subject in the picture and what you want the viewer to see. Using the rule of thirds in photography, you can create a more interesting focal point and overall make a more appealing image. What the rule of thirds essentially does, you have a 3×3 grid that divides the image into 9 sections. This gives you a better insight on how the image is laid out against the subject in the picture. It also allows you to focus on each of these sections, and see how that part of the image has a unique composition which can improve the overall quality of the photo. Although not applicable to every photo, the rule of thirds can enhance the composition and add a new angle on the image. Consider the horizon line as that’s what most people look at first. Sometimes we can play around with the offset of the picture and make the subject seem more/less important than the rest of the image.
Depending on what you’re doing, look for other inspirations such as magazines, games’ user interfaces, newspapers. See how other people have laid out their work and how it makes the piece a-lot-more-easy-to-follow. To put it simply, lay out your work and add variation and avoid repetition if it’s a layout format you don’t have to follow. Also, be clear about it.
Fonts are your eyes’ best friend
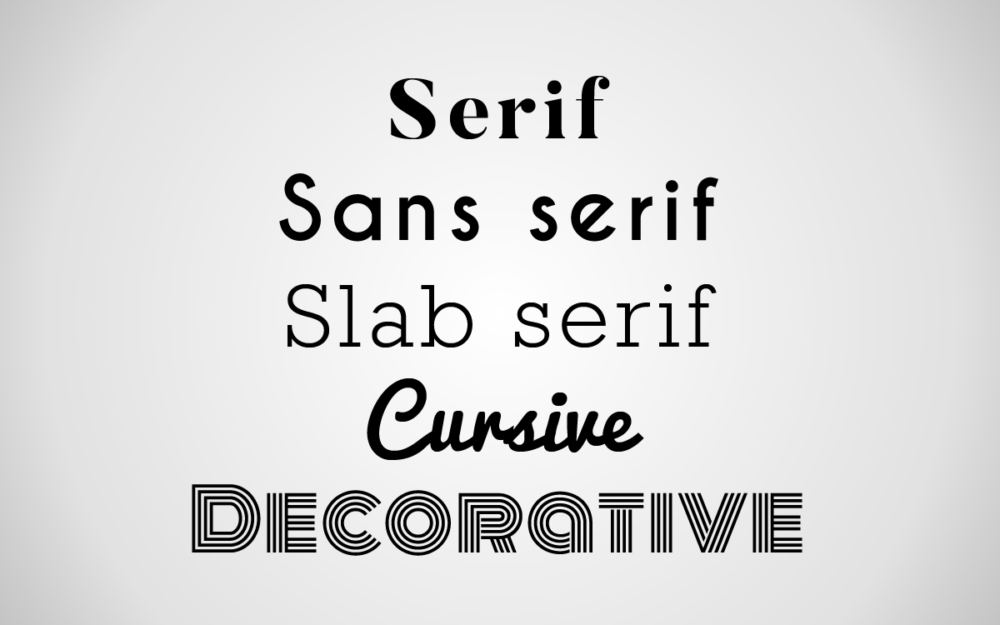
Picking out the right font for your work can be time-consuming unless you’re working with brand guidelines. With websites such as dafont, googlefonts, and fontsquirrel; we have access to thousands of free ones to choose from. Finding which one works for the piece might be tricky at first since it’s wildly subjective, we must identify what makes a good font regardless of the style.

San-serif is the standard and the most popular font type for today’s modern computer screens since it’s designed to be legible even if the text is small. It’s by far the most important feature when choosing or creating a font; no matter the style, it must be easily readable. This can be tested in a few ways, but many of the font sites mentioned allow you to preview the text you type in. With instant font previewing, test to see whether the same text can be read from afar. If you still can make out the text, then the font has a good silhouette and would be an ideal choice to start with.

Although San-serif fonts can be used with most any image, sometimes it’s nice to compare your font with the theme you’re going with. This will help convey the overall mood better bringing the piece to life a lot more.
For more some extra information about identifying font types, I recommend having a quick read here.
Give it some space to breathe
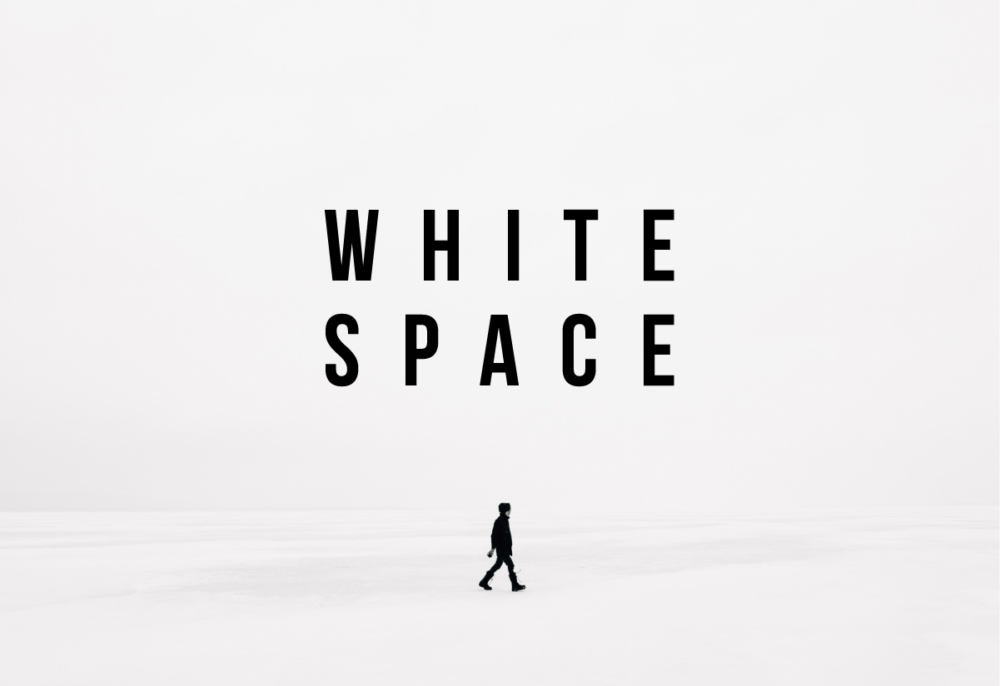
Ever had a salesman who forced you to buy something you clearly didn’t want? Someone nagging at you nonstop for 30 minutes? From my experience, it’s pretty stressful and annoying. We need to engage the viewer in a manner where we invite them in for a cup of tea and share them bitesize digestive biscuits to snack on. These bitesize digestive biscuits are best taken one at a time with a sip of tea every now and then before it empties. With that in mind, be sure to break up something that’s too text heavy if it’s not in a documented format.
Whitespace also lets the subject become the focus, as this ensures it receives the maximum retention of the viewer.

Another thing that whitespace does, is it helps group things together. Such as a paragraph on a new line, for example, having this space in-between lets the viewer see which text are relevant to its context. Leading, kerning and tracking; are terms that are used in typography which help distinguish the spaces between the letters and words. Leading refers to the spacing between the lines vertically, while kerning is the spacing between two letters, and the tracking is the spacing between words. If you had to re-read the word in your head at least twice due to mistaking it for a different letter, consider increasing the kerning or tracking.
Working with colours
Once you’ve established the main bulk of the design, the colours should really be the icing on the cake. Hue, saturation, and value (HSV for short) are most commonly seen in many digital editing applications. The hue describes what colour it is in the rainbow spectrum, the saturation is how much the colour shows through, and the value is how much white or black is added to the colour.
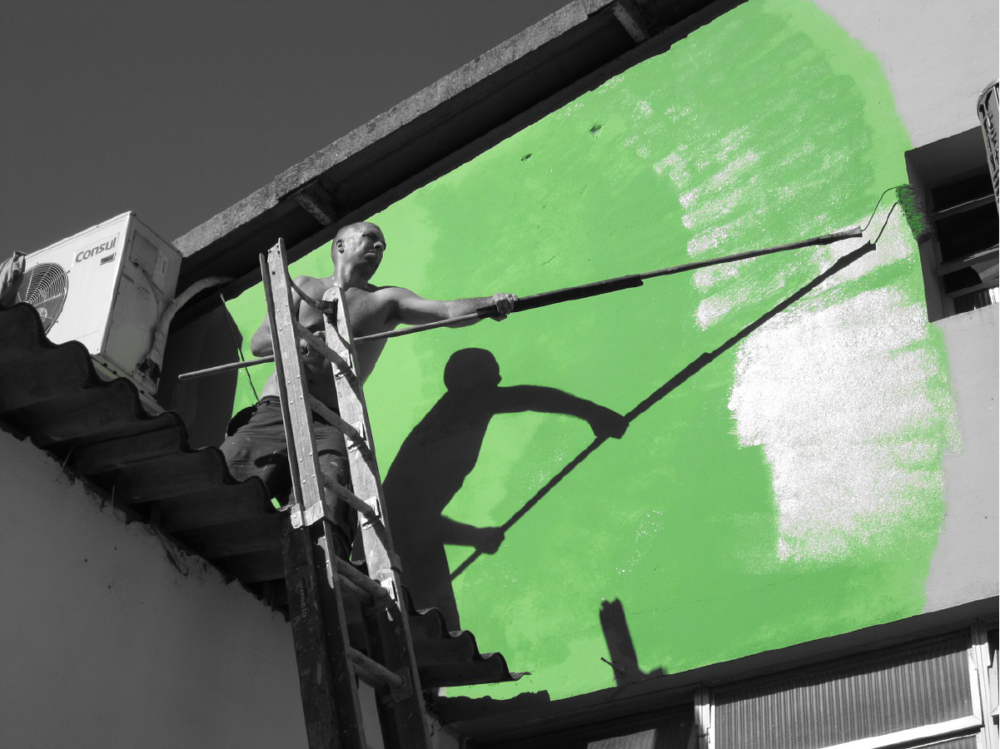
When you’re working with colour, the most important thing to keep in mind is the value and contrast between them. If you have two objects blending next to each other, that’s when you need to think about contrasting them so they stand out individually.

It doesn’t all have to be bright and colourful, in fact. If you’re working with a less saturated colour palette, the brighter colours will stand out a whole lot more.
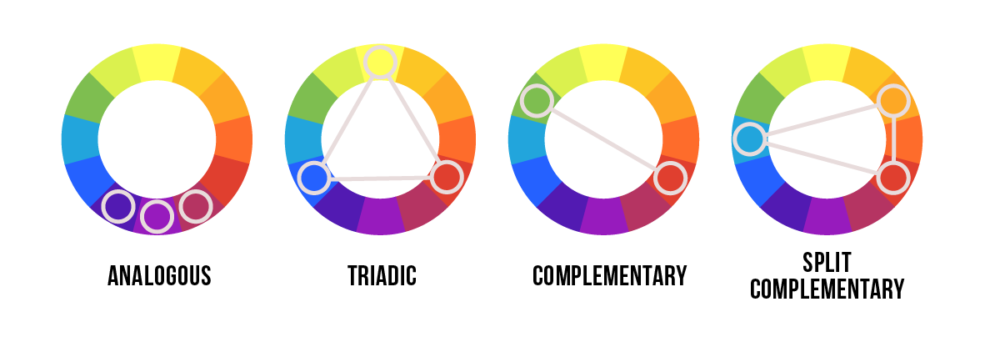
Learning some basic colour theory will help create something that will complement the piece. Analogous, Triadic, Complementary, are each example of how to generate colour schemes for your work. Many colour palettes you see now today are derived from the formulas mentioned above. Be sure to experiment with them and apply them into your own work!
Understanding these will help you pick colours more accurately and become more instinctive rather than guesswork.
Coolors and color.adobe are great tools to give your work some new paint.
Fun with shapes

When designing an object or a character for a graphic, the shape is the most appealing thing that draws the attention of the viewer. It also hints to us their personality type; a round soft character can appeal to be friendly and kind. A square might remind you of a wall, something that is defensive and strong. Typically they are used for strong or angry looking characters, such as the character Wall-E. A triangle that is pointy and sharp, might portray someone who is mischievous and edgy such as the video game character Sonic the Hedgehog.

When we just need to design a generic character that fits our piece. This is where we focus on the pose more rather than the personality of the character. The pose can normally tell us what the character is thinking, which can enhance the piece even further.

Everyone knows what a pencil is, but to create something we haven’t seen a thousand times already we need to explore new ways to represent the same object. Practically everything around us is broken down into 2 main things: soft curves and angled ones. Having a softer curve on the piece can convey a different mood entirely as opposed to one designed with angled edgy lines.
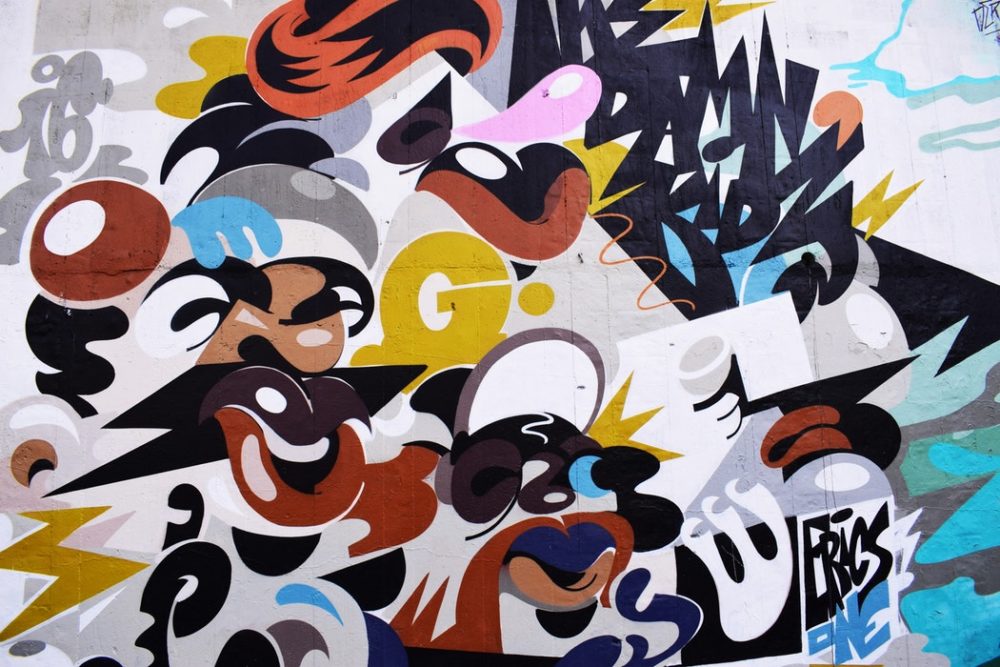
Another thing we can do is play around with the size and proportion of the object. Squash and stretch your design like play-doh, as you never know, you might find yourself discovering how to design something boring and turn it into something new and appealing.
We’ve gotten so far and yet it’s just the beginning

If you’ve gotten this far, hopefully, I’ve provided you with some of the key things to look out for before you finally send this off to a client. Remember, there’s always room for improvement and with enough practice, you can get a bit closer to designing the perfect infographic you’ve always dreamed of.

 Search
 PR
PR AI
AI Social


